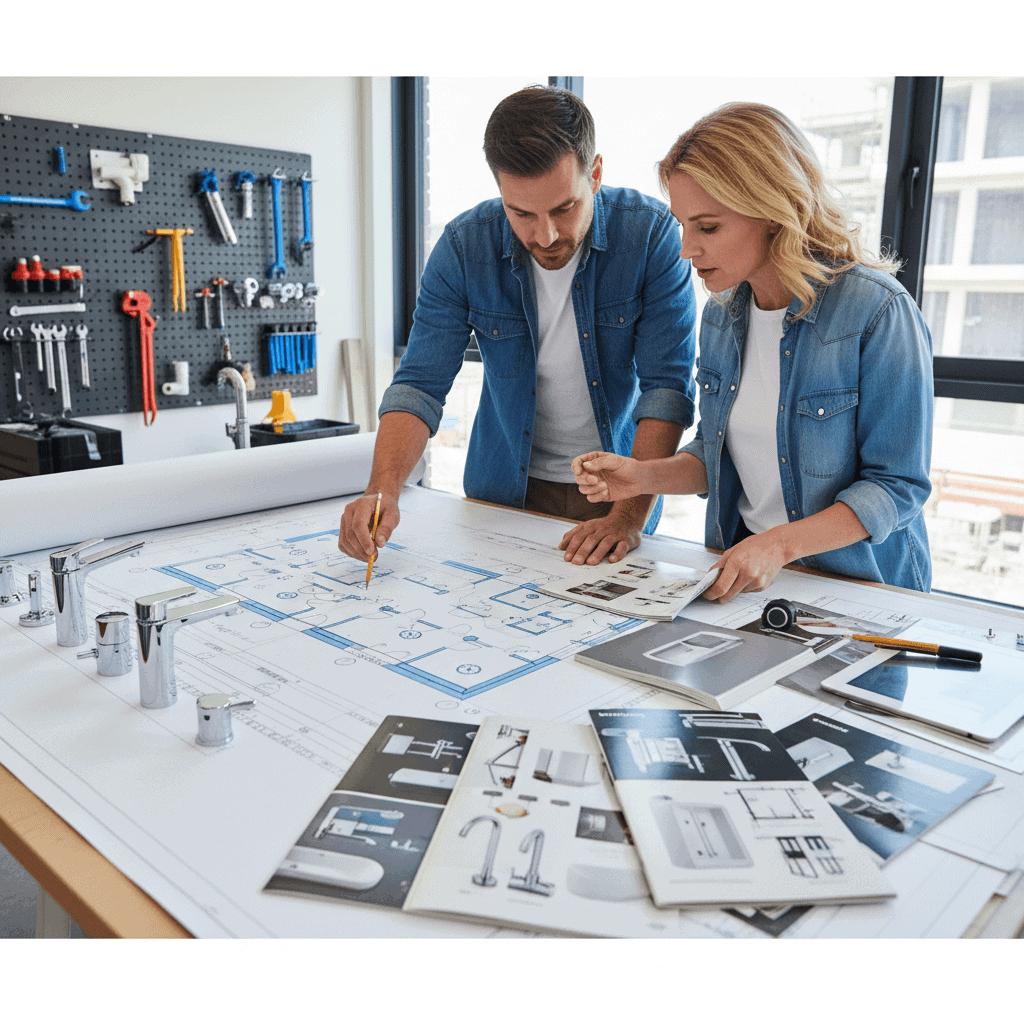
Planning new plumbing fixtures transforms how a home looks and works. Swapping a sink in a tiny bathroom or redesigning a kitchen’s setup, the decisions made early on shape costs, safety, and how well everything lasts. Thoughtful choices at the start cut down on surprises when installation rolls around. People who want a smooth remodel without headaches will find this advice especially helpful. Keep reading to unlock secrets that save time and money while making your space shine.
This article walks through the main things to weigh when selecting fixtures and preparing a space for plumbing work. You will get practical tips on layout priorities rough in requirements water use considerations and how to coordinate with a professional so the project runs on schedule.
Begin with Use and Layout Priorities
Start by mapping how the space will be used. Ask simple questions such as who will use the fixture how often and what activity must fit in the same area. A small half bath gets different needs than a master bath with a soaking tub.
- Measure clearances around doors cabinets and entryways to confirm larger items will fit through on delivery.
- Account for turning space in front of the fixture to prevent cramped operation.
- Consider traffic flow if the room serves more than one purpose for example a laundry area combined with a mudroom.
Good layout planning can reduce the need to move supply or waste lines which carries both time and cost savings.
Set a Realistic Budget and What Drives Costs
Establish a budget range before you pick styles. Costs vary by fixture quality finish plumbing rough in complexity and labor rates. Major cost drivers include moving pipes changing drain locations adding new vents and replacing cast iron drain lines.
- Fixtures only may be a small fraction of total spend when structural or access work is required.
- Labor for tight spaces or multi story runs will add time and cost.
- Permit fees and inspection costs also appear in many municipal projects.
Tip Save a contingency equal to 10 to 20 percent of estimated project cost for surprises that appear once walls are opened.
Choose Fixture Types Materials and Finishes
Match fixture type and material to use and expected wear. For high traffic areas choose finishes that resist spotting and scratch marks. For fixtures in guest spaces you can select higher aesthetic emphasis while prioritizing durability in family baths.
- Ceramic and vitreous china remain common for toilets and sinks because they resist staining and are easy to clean.
- Solid brass or stainless steel components last longer for faucets and have repairable cartridges.
- Composite materials for shower bases provide a balance of cost and durability.
When selecting a faucet think about handle type single lever versus two handle and whether the control location will interfere with sink depth or backsplash placement.
Plan Supply Lines Water Pressure and Valve Access
Water supply planning begins with mapping hot and cold runs and the main shutoff locations. Avoid long runs that reduce pressure at the fixture. Aim to keep the fixture within a reasonable distance from the water heater for faster hot water delivery.
Water Pressure Considerations
Measure static and dynamic pressure if you suspect weak flow. Many fixtures perform well between 40 and 60 psi. If pressure is low in multiple rooms check for closed valves mineral buildup or undersized lines that may need upsizing.
Valves and Service Access
Provide shutoff valves at each fixture for quick isolation during repairs. Accessible angle stops under sinks or in wall access panels for tubs and showers reduce future repair time. Label shutoffs if multiple valves are clustered in a utility area.
Drainage Slope Venting and Waste Line Layout
Drain performance depends on correct slope pipe size and venting. Standard practice for horizontal waste lines is a slope of 1 4 inch per foot for 3 inch lines and 1 8 inch per foot for 4 inch lines. Slopes that are too steep or too flat cause gurgling slow drainage or solids to deposit.
Trap Placement and Cleanouts
Each fixture needs a trap to prevent sewer gas entry. Locate traps as close to the fixture as possible while maintaining required clearances. Add cleanouts on long runs and at base of stacks to allow mechanical cleaning without breaking lines.
Water Use and Efficiency Choices that Save Over Time
Select fixtures that lower monthly water use without compromising performance. Modern toilets with 1 28 gallons per flush and high efficiency showerheads rated at 1 8 to 2 0 gallons per minute reduce utility use. Consider aerators on faucets to balance flow and wash performance.
- Low flow fixtures cut water bills and reduce wastewater volume.
- Tankless or point of use water heaters shorten wait time for hot water in remote bathrooms.
- Pressure balancing valves in showers keep temperature steady when other fixtures are used.
Example Replacing an old 3 5 gallon per flush toilet with a modern 1 28 version can save thousands of gallons a year in a household of four depending on use patterns.
Hiring a Professional and Setting a Timeline
Choose a licensed plumber with experience in the type of work planned. Ask for references and view past projects similar in scope. A clear contract helps set expectations on work scope schedule permits and post work cleanup.
For larger scope work schedule a site visit so the installer can confirm rough in needs and identify obstacles that may add time. A typical mid size bathroom with some layout changes often takes one to two weeks from demo to final fixtures while new builds or major reroutes can take longer.
If you want a skilled contractor to handle permits and final connection look for a provider that lists full service options and gives written estimates. For convenience a single point of contact reduces miscommunication between trades and shortens the timeline. You can learn more about options and local support from a company that focuses on installation and finish work with timely scheduling and follow up plumbing installation services.
Final Checks Site Preparation and Post Install Tips
Before installation day clear access routes and protect floors. Label turned off water lines and secure pet locations. Have fixtures stored safely upright to avoid chips and scratches.
- During installation verify shutoff locations and test all valves for leaks under pressure.
- Check alignment and caulking around tubs and sinks to prevent water intrusion into framing.
- Ask for a walkthrough once work finishes to learn where access panels are and how to operate new valves and features.
After completion keep manufacturer care instructions and replacement part info in a file. That reduces time when cartridges or seals need replacement.
Common Pitfalls and How to Avoid Them
Avoid selecting fixtures without checking rough in dimensions. A stylish wall mounted sink may require a carrier and reinforcement that adds cost. Do not assume new fixtures will match old drain heights. Confirm final drain and supply elevations before installing tile or cabinetry.
- Order fixtures early to prevent delays from backorders.
- Keep the project scope stable. Minor scope creep can extend the schedule.
- Coordinate trades ahead when electrical or cabinetry work occurs near plumbing to prevent rework.
Example If you plan to change a single faucet consider swapping the cartridge and line connectors while access is open. That small move can avoid a return visit if parts fail later.
Conclusion summary and next steps
Planning New Plumbing Fixtures requires balancing layout goals cost constraints and technical needs. Take time to map use patterns measure clearances and confirm rough in dimensions before committing to final purchases. Select materials and flow rates that match the space and projected traffic while adding shutoffs and cleanouts in accessible locations to simplify future repairs. Work with a licensed installer who will coordinate permits and confirm water pressure drainage slope and venting to avoid common failures. Keep a contingency in your budget for surprises and order long lead items early to protect your timeline.
When you are ready to move from planning to action gather photos measurements and a short list of fixture models to share during a site visit. Clear communication about schedule and responsibilities keeps the project smooth. If you prefer to hand the project to a local company that offers complete installation and inspection services reach out for an estimate and timeline. A professional will walk the site with you and point out options that save time and reduce future maintenance. Take the next step and request a written estimate so you can compare cost and schedule and set a start date for the work.